Traveling without taking photos is half the fun wasted. So make sure to take note of photography tips when traveling like this expert. So that every trip will leave GaTo amazed and envious.
Why take photos when traveling
“Traveling is just going from where you are bored of living, to where others are bored of living” There is a saying: “people will change over time, only photos will remain forever”. So keep all the images of the places you have visited, so that when you look back, it will be a beautiful memory. So how to take beautiful photos. Of course, you need to have professional photography skills.
This trip to Hoi An and Da Nang, I want to share with you how to take photos and the HOT TREND of editing photos with orange and pastel blue tones. The article includes a video with editing formulas at the end of the album..You need to install the VSCO or PICSART app to apply this tone editing (I have instructions at the end of the album)
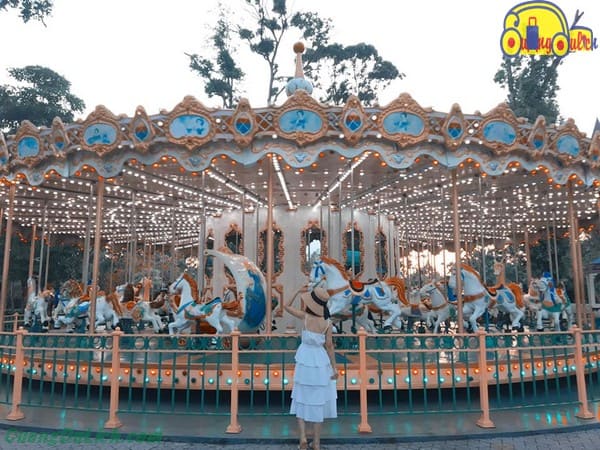
Note: I am not a professional photographer (I hope professional photographers will not judge me and can ignore or give feedback if you have more experience in photography), I just love taking photos from the perspective of a travel enthusiast and my own experience, I want to help those who don’t know how to take beautiful photos, hoping you will have memorable moments captured as memories of your youth. I hope for your support.
For more information: Current airline ticket classes
What to photograph when traveling
One of the extremely important photography tips when traveling is that you need to know where you are, what’s here, and what to capture. Refer to photography tips when traveling with some angles as follows:
1. Landscapes
Landscape as the main focus: not necessarily the main focus, but let nature dominate most of your frame, you can pose comfortably but let nature spread out, because psychologically people viewing the photo want to know how beautiful the place you visited is, not selfies that cover your face and nature. Sometimes the images with your back facing the majestic nature truly attract viewers much more than images of just people (but don’t forget a few selfie poses to keep with friends).
Reference: the most attractive travel destinations in Vietnam
2. Delicious food
Many of you surely love taking photos of food. That’s right, but how to take beautiful photos? If the food is on the table, take a straight shot from the opposite side of the food, it will look more comprehensive and appealing, instead of taking many dishes on the table, take each dish separately, if you like taking many dishes, arrange the table neatly and attractively. If you’re taking food in your hand? Choose a beautiful background, in this album I took a glass of water and chose a background of paper flowers mixed together, it’s really reasonable haha. Avoid taking photos in messy places, it will reduce the appeal of the food.
3. Unusual objects
Unusual things from the place you visit: in a review in Japan, I only took a manhole cover and many people were interested, why? Because it’s truly unusual and beautiful. If you encounter anything on the road that you have never seen or rarely see, don’t hesitate to take a photo (like houses, objects, animals, plants, flowers, leaves, grass, trees..) sometimes viewers have never seen it before and are very interested in what you encounter.
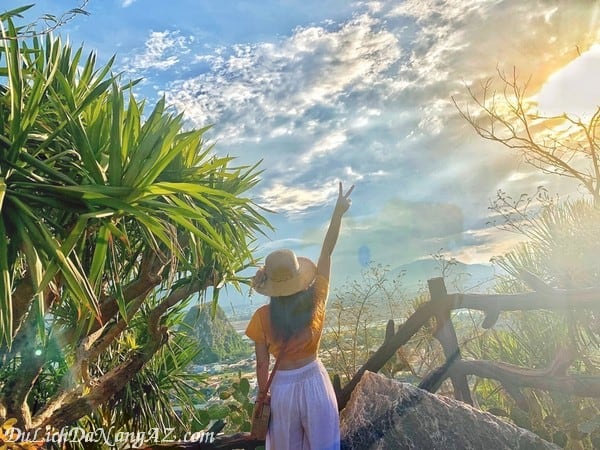
Posing Tips for Travel Photos
When it comes to taking photos while traveling, the most important and decisive factor is this part. This part is actually very difficult because each of us has different strengths, weaknesses, flaws, and beauties. So it depends on you to recognize where you look good and show off that part, and if there’s an area you’re not confident about, cleverly pose to hide it (if it’s not beautiful from any angle, then forget about it). In general, make sure to make the most of what you have:
- If you have a high nose, tilt your face to show it, if you have beautiful legs, ask the photographer to take a sitting shot to elongate your legs…
- If you’re a bit chubby, you can pose at an angle to reduce the appearance of it, or sometimes just focus on your beautiful hair and the photo will turn out great. If you don’t look good in any pose, choose the safe option – take a shot from behind (if your face doesn’t look good automatically).
- Sometimes posing depends on your personality, gentle people tend to pose elegantly and softly, while those with a strong personality will pose super cool. Those who pursue a sexy style always have a captivating look towards the camera (the eyes are also very important in creating that charisma).
- If you want to pose a certain way but ask a non-professional to take the photo, then guide them on the angle and ask them to take multiple shots (no matter what, there will be one good shot).
What to Wear When Traveling for Beautiful Photos
Beauty is in the details, right everyone? If you have a ton of experience in taking photos while traveling: posing, how to take the photo, the angle, but the subject is not dressed nicely, then the dream is shattered. This is quite simple for you ladies, right? I’ll just add a few things, wherever we go, choose outfits that suit the place, for hiking choose comfortable and flexible clothes.
If you go to the beach, go all out with flowy dresses, bikinis, very cool outfits. If you go to ancient places and want a better photo, wear traditional clothes like a kimono in Japan, hanbok in Korea, hanfu in China, ao dai in Hue or Hoi An (not mandatory, just for an extra wonderful touch in the photo). You can wear whatever you want as long as it’s comfortable and suitable, right?
Editing Photos After Taking Them
Have you ever asked questions like: I look better in person. Or today is beautiful, this place is beautiful, this hotel is beautiful. Why do my photos still look worse than them? That is the final factor I want to address in this article about taking photos while traveling.
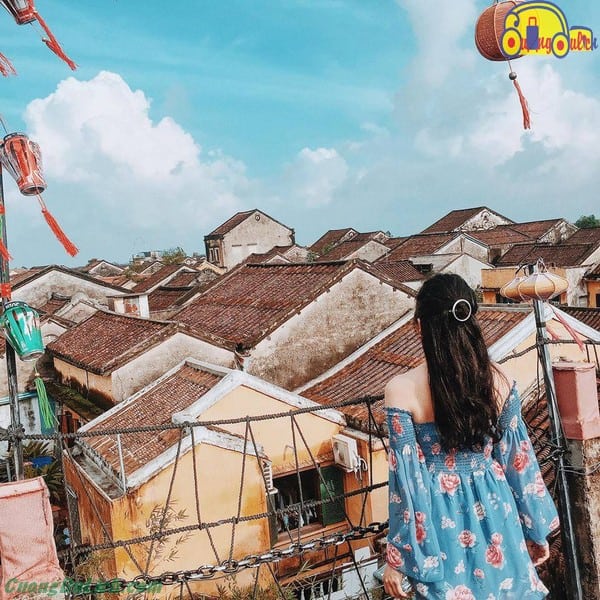
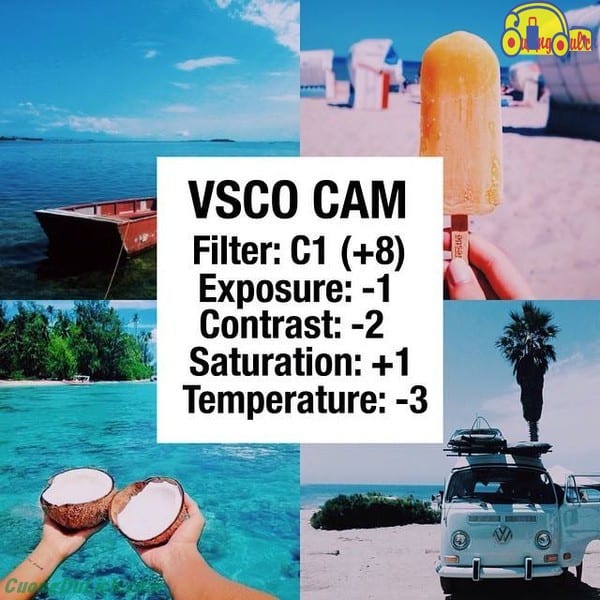
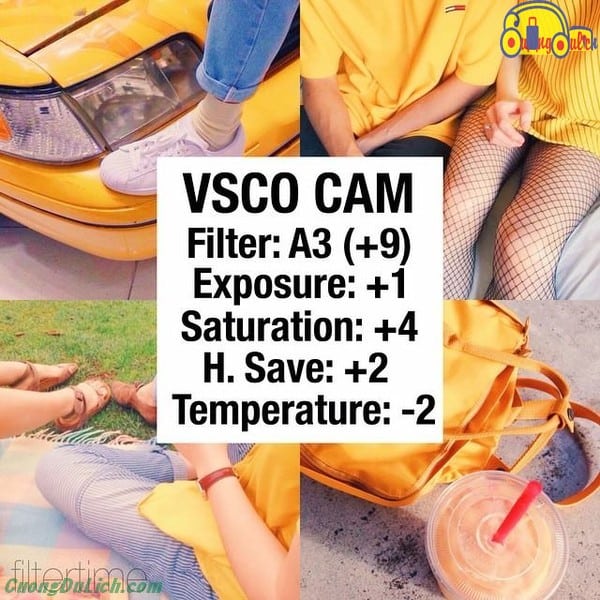
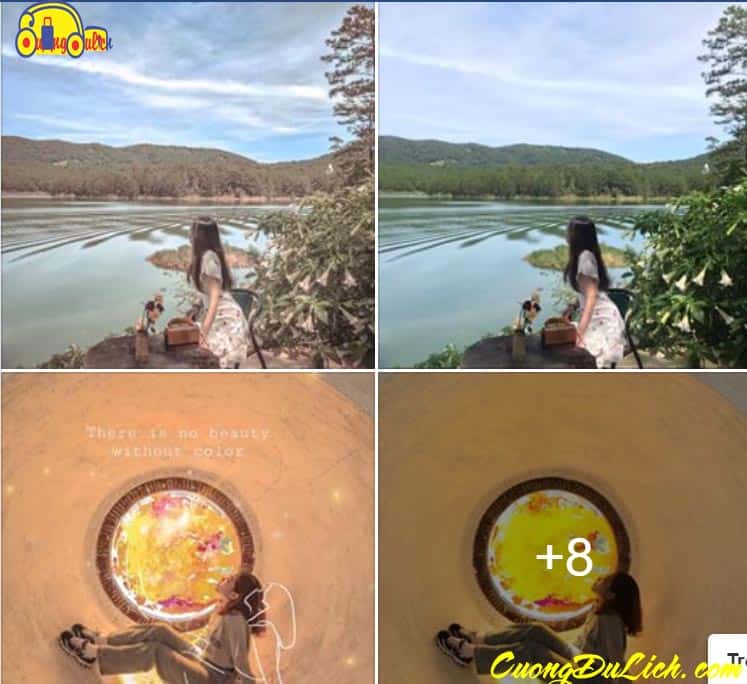
For girls, you probably know that you need to take 100 photos to choose just one. Let’s not blame the photographer, because in reality, 30% depends on the photographer, while the remaining 70% depends on post-processing (photo editing). You can use popular photo editing apps like Vsco, Lightroom, snapseed, insta… sometimes you have to combine multiple apps at once, usually I mainly use VSCO and adjust the colors to my liking. Recently, young people like to edit photos in orange and pastel blue tones, I have researched in photo editing groups and shared formulas with you all.
VSCO Photo Editing Software
VSCO is an app for editing photos on your phone. VSCO photo editing app has been around for a long time but is still “unbeatable” in terms of color. This app has 2 color sets, VSCO standard and VSCO X, you will have to pay for each color set, but the results are worth it. You will have photos with millions of likes after just a few drag and drop actions.
Commonly used parameters and features of VSCO:
- Exposure: Brightness
- Contrast: Contrast. Increasing contrast highlights objects in the photo, decreasing contrast for gray photos
- Sharpen: Image sharpness
- Clarity: Image clarity
- Saturation: Image color. Increasing saturation makes colors vibrant, decreasing saturation makes colors dull
- White balance: Temperature of image color. Shadows in the image have white layers
- Skin Tone: Increasing orange skin tone, decreasing pink skin tone
- Vignette: Darkening the 4 corners of the image
- Grain: Dust in the image
- Fade: Image with gray layer
- Borders: Image borders
- Tint: Increasing blue tint, decreasing purple tint
Some commonly used VSCO software formulas for photo editing
In general, you can easily find VSCO formulas online. But generally, it’s mainly about adjusting the light color tone to be pleasing to the eye. Just adjust each item as mentioned above. Here are some VSCO formulas I often use for photo editing when shooting.
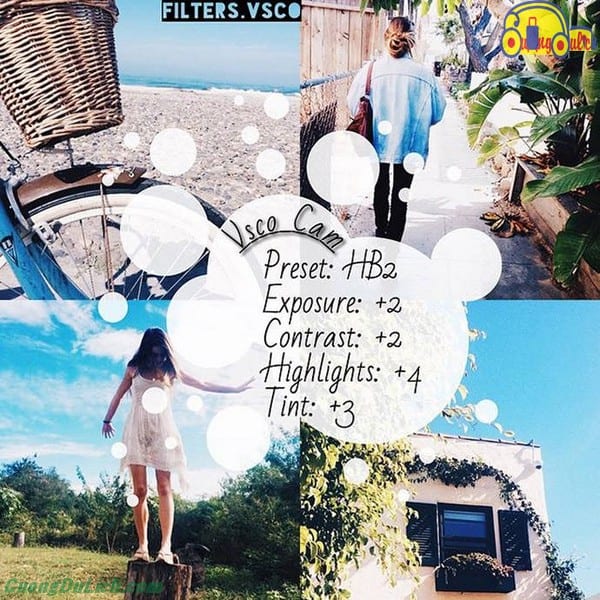
Tips for Editing Photos with VSCO
To capture a beautiful photo with a sparkling filter, you first need a photo with a clear composition. A basic photo only needs the following elements:
- The image should not be tilted, objects or subjects should be placed in an eye-catching position. To align correctly, you can choose the grid mode in the phone’s settings.
- Proper brightness: not too dark, and not overexposed.
- Avoid too many details in one picture.
- After following these “rules,” let’s move on to editing the photo according to the formula.
Guide to Editing Photos with LIGHTROOM / PICSART
Before Editing Photos with Picsart:
- Read the functions of the tool carefully, it will help you control the color of the photo according to the brightness of each location. This will create a unique color and style for your photo.
- Adjust the frame and color according to each scene and location because the color of the photo will vary in each place.
COLOR: adjust the color for the photo
If you like warm tones:
If you like cool tones:
MIX (in the COLOR section)
GUIDE TO EDITING EACH COLOR IN PICSART
Red color: (e.g., lipstick)
Orange color (skin color, orange color of objects)
Yellow color
Green color
Sky Blue color
Ocean Blue color:
Purple color
EFFECT
SPLIT TONING
These are the photography tips when traveling that I have summarized. Thank you for reading this article, I wish you all meaningful trips and photos
